
Easy & Delicious Campfire Damper

Campfire Damper Recipe
Have some spare time and want to keep the kids amused for a while? This delicious campfire damper recipe is sure to be a big hit with the kids. They will love getting involved and getting messy making these delicious logs, and even the adults will enjoy eating them also. All you need are basic pantry staples that you may just have on board already! They are a quick, fun and easy snack that the whole family will enjoy. And if you have leftovers, why not load up a plate and take some to your neighbours. It is a great way to teach the kids social interaction skills, and at the same time teaching them that sharing when you have extra is a good thing. And you never know, your visit to the neighbour may just be what they have needed in a while. It feels good to be kind.
I remember as a kid going on school camps, and sitting by the campfire with damper. It was a great social setting, where we would all take it in turn saying something interesting about ourselves amongst the whole group. We would have campfire damper in hand and enjoy the night with friends, classmates and teachers.
I've always wanted the same for my children, camping with their school every year to a new and exciting place and learning new outdoor and survival skills, but since having my children go through school, they've had little opportunity to do this as the schools don't seem to be big on class camps for some reason.
We hope you will enjoy this recipe and making it with your children. I'm sure they will remember this for years to come, and maybe one day, they'll pass it on to their children while telling them stories about their camping experiences with their parents. Memories are forever, lets make them good ones.
Only 6 ingredients needed for this one.
Ingredients
2 cups self-raising flour
½ teaspoon baking soda
1 pinch of salt
2 tablespoons butter or margarine
1 cup of milk
2 teaspoons sugar

Method
*Place the flour into a large mixing bowl.
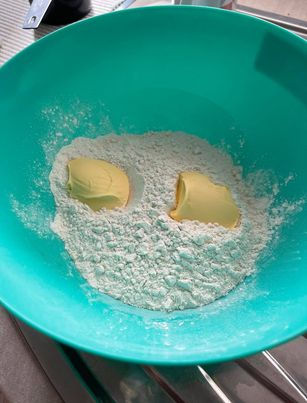
*Rubber the butter in until the mix is fine and crumbly.

*Add the salt, baking soda and sugar, and mix well.
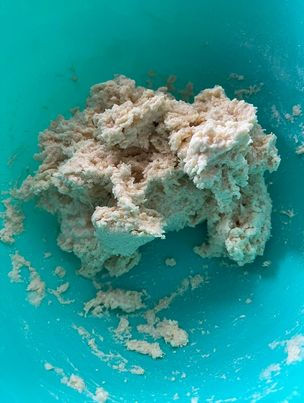
*Add the milk slowly in small amounts while mixing at the same time

*Continue to mix until a dough forms.
*Wipe down a good sized bench area.
*Flour the bench using self raising flour and lay the dough out onto it.

*Knead until the mixture comes away from your hands without sticking.
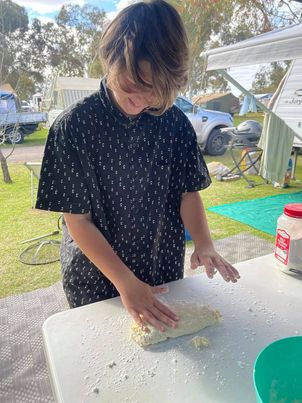
This is our lovely Amelia kneading the dough
*Section the dough into 8 pieces and roll each into a log shape.

*Using greased BBQ rods, lay the log onto a flat surface and gently poke the pointy end of the rod into the middle of one end of the log, and slowly push through until you can see the tip of the rod at the opposite end of the log.
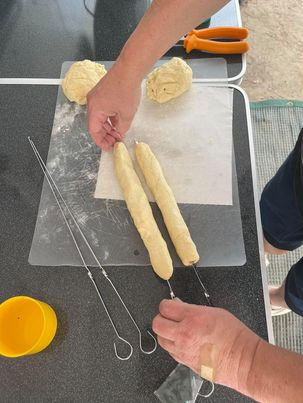
*Complete this step with each log.

*Lay onto a greased grill over your campfire, (don’t allow flames to touch the damper as it will burn) and cook, turning a few times until the centre is a bread texture.

*Once cooked, cut open down one side, creating a hot dog style roll.
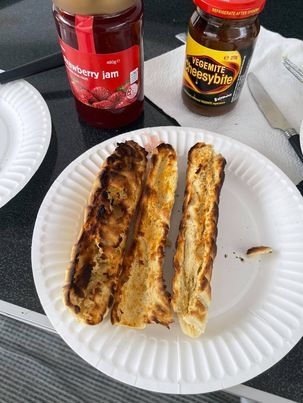
*Butter while still warm and add your favourite spread.
*Enjoy!
**Notes:
If you prefer smaller logs or have more mouths to feed, section the dough into 16 before rolling into a log.
You can choose any type of milk. We understand that caravanning means we don’t have the same pantry storage as we do in a house, so if you keep powdered or UHT milk to save room in the fridge, then these are fine also for this recipe

Комментарии